Daily Frustration: When Flowers Just Won't Listen
Hello, my dear friends,
I completely understand that feeling of loving and hating something at the same time.
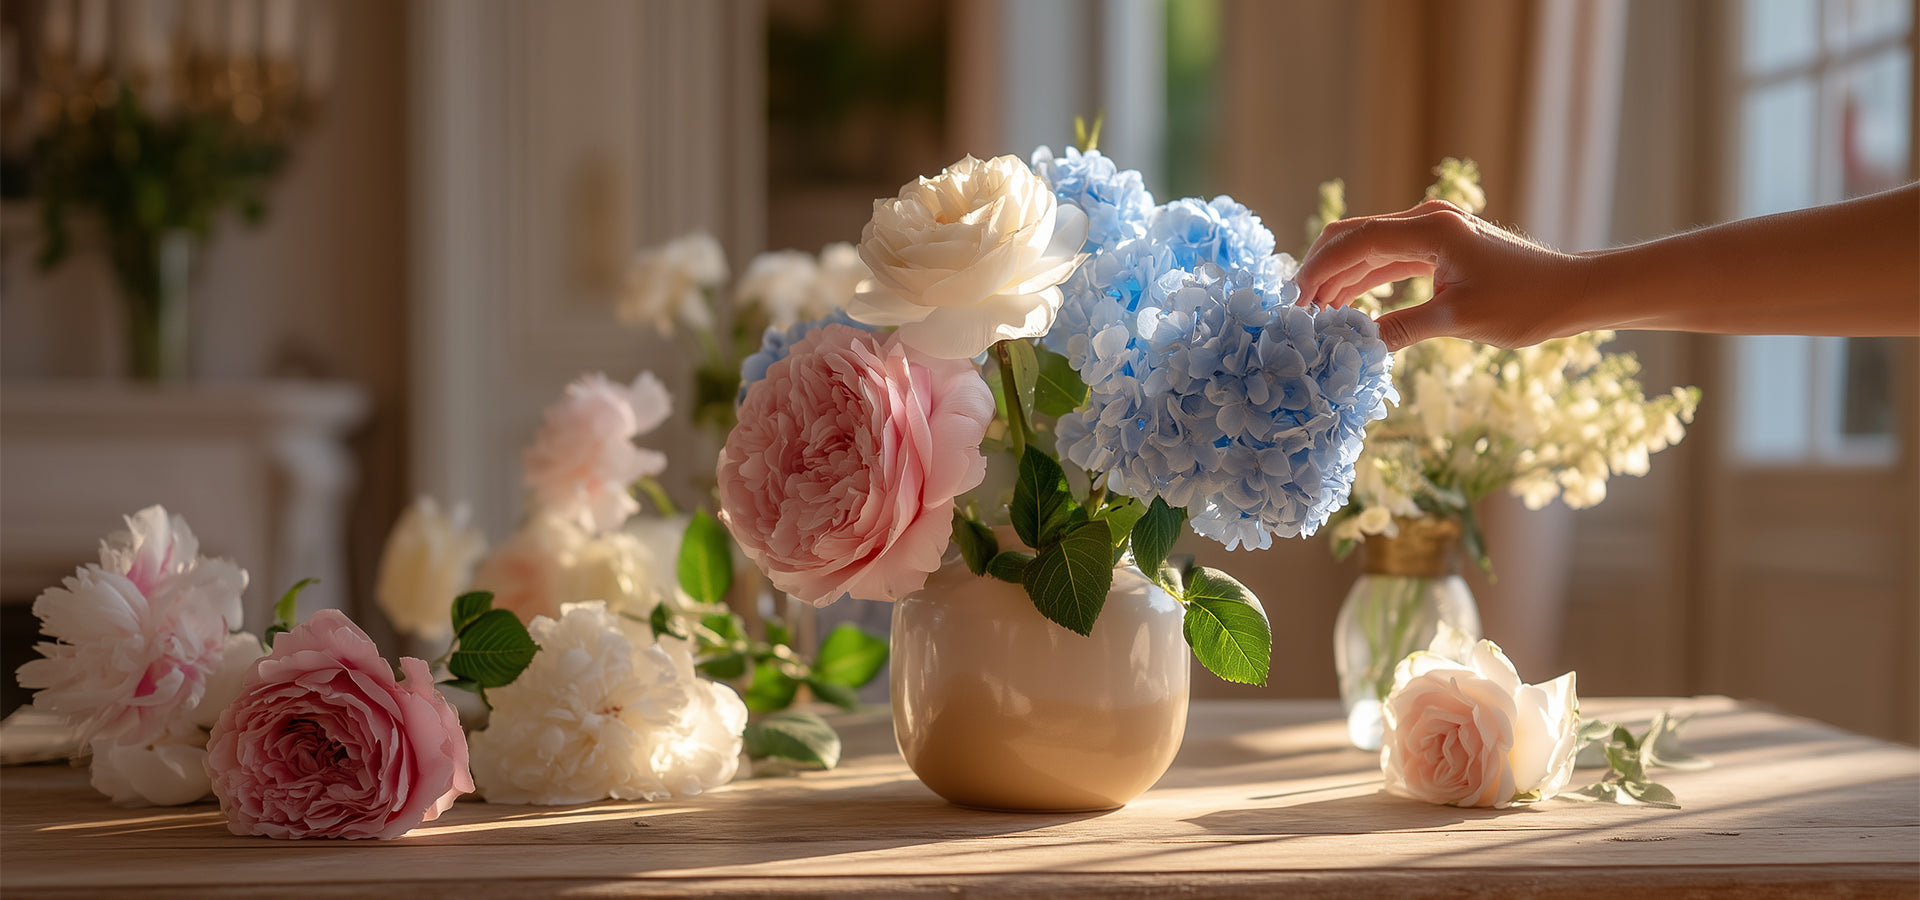
Have you ever been there? You imagine an elegant arrangement, every bloom facing the light. But reality? All the stems crowd together at one tiny point at the base, and the heads flop out over the rim, looking like they've had too much wine and are leaning on each other for support.
Honestly, as a florist, seeing that kind of "structural failure" used to drive me crazy! I tried stuffing more flowers in, hoping they'd prop each other up, but that just made the water cloudier and the bouquet more cluttered. One year, my husband Robert (may he rest in peace) found me sighing over a bunch of fallen roses. He just laughed and said, "Dear, you can't expect a bouquet to have the structure of a cathedral."
That little sentence calmed me down. It made me realize I needed a lightweight, invisible support—something that wouldn't ruin the beauty.

Once placed, they often lean awkwardly or fall apart with no structure at all. The secret to a beautiful, well-shaped vase arrangement isn’t complicated.
With just a few simple tools, you can create floral designs that look natural, stable, and full of life.
💡1. Adhesive Tape — The Gentle “Invisible Grid”
When your vase opening is too wide and your stems won’t stay in place, adhesive tape is your best friend.
🌼 Steps
-
Clean the rim — a clean, dry surface helps the tape stick firmly.
-
Make a grid by crossing strips over the vase opening.

-
Arrange layer by layer.
-
Start with your main blooms (roses, peonies, or other statement flowers).
-
Add filler greens or supporting flowers (like eucalyptus or faux daisies).
-
Finish with small leaves or accent stems to fill the gaps.
-

✨ This keeps each stem in place and gives the whole arrangement a fuller, more natural shape.
📍Real story:
I once helped a friend style her dining table with faux flowers. They looked lovely in the box but droopy in the vase.
So, I built a quick tape grid — and suddenly everything stood beautifully.
She laughed, “That’s the trick?! It looks like you spent hours on it!”

🌿 2. Water Pipes — The Hidden Backbone for Tall Vases
Tall glass vases are stunning, but long stems often lose balance — especially faux ones without water weight.
A few pieces of transparent water pipe can completely change that.
🌼 Here’s how:
-
Cut several 5–10 cm pieces of clear water pipe.

-
Place them at the bottom of your vase. Think of them as a “hidden skeleton.

-
Insert your main stems through the pipes so they stay upright and centered.
✨ The flowers will instantly look taller, cleaner, and more structured — no more slouching.
📍Real story:
I once styled a 40 cm glass vase with faux pink lilies and peonies for a model home.
They looked lovely at first, but every bloom leaned to one side.
After I added a few water pipe supports at the base, the bouquet came alive — perfectly vertical, airy, and photo-ready.
The client’s reaction? “It suddenly looks like fresh flowers!”

🌸 3. Floral Foam — Giving Every Stem a Place and Purpose
If you want precise control over every angle and layer, floral foam is your best friend.
It keeps each stem firmly in place and allows for more natural, lifelike positioning.
🌼 Steps:
-
Cut the foam.
Shape it to fit snugly inside your vase or container. -
Secure it.
Use hot glue or double-sided tape to attach it firmly to the base.
-
Plan your design.
Think about your composition: round, fan-shaped, or cascading. -
Insert your main blooms.
Start from the center and rotate each stem slightly as you insert it for better hold.
-
Add fillers and greens.
Insert from different directions to create dimension and flow. -
Finish the surface.
Cover the foam with dried moss, bark, or decorative stones for a natural finish.
📍Real-life Example:
Last year, I created a tabletop faux arrangement for a client who wanted a “layered, natural look.”
The vase was a shallow ceramic bowl—beautiful, but challenging.
I trimmed the floral foam to fit snugly, secured it, and began with faux blue hydrangeas and yellow orchids.
I tilted the first stem slightly outward, added eucalyptus for rhythm, and then small dried grass to soften the edges.
When I stepped back, the arrangement looked as if it were growing from the bowl—every stem seemed to have found its rhythm.
The client gently touched a petal and whispered, “It feels alive.”
I smiled. “That’s the magic of a little floral foam.”

💬 In the End: Small Tools, Big Warmth
Floral beauty isn’t just about technique — it’s about care.
Adhesive tape gives stability, water pipes add structure, pin holders define flow —
together, they help each flower show its best self, gently and naturally.

You don’t need to be a professional florist — just a bit of patience and love.
Even faux or dried flowers can come to life in your hands.
If you've been plagued by "structural problems in the vase," go grab a roll of waterproof tape from your drawer right now!
Use that simple little grid to build a solid stage for your beloved blooms. You'll be amazed at the deep satisfaction and accomplishment this small change will bring.
Be sure to tell me in the comments which beautiful flower you managed to rescue with your new grid!
Warmly, Marian